Keeping Your Bathroom Sparkling
Learn Why Keeping Your Bathroom Sparkling Is Good For Your Mental Health
Bathrooms just seem to keep attracting dirt and grime. It’s ironic, given that it’s the place we go to get ourselves clean. Taking a bath doesn’t mean that you’re simultaneously washing off the dirt and stains that are in the shower or tub in the process. Soap scum, bits of hair in the shower, scale deposits for those in areas with hard water, to the greasy gunk in the toilet bowl- in the process of getting rid of soiling and body waste- there’s bound to be material that remains. This, in turn, becomes a breeding ground for pathogens, a factor that is exacerbated by the presence of increased moisture levels in the bathroom.
Routine care for your bathroom
Investing in a descaler will enable you to tackle those limescale build-ups that occur. This flaky substance is particularly problematic in hard water areas, and is formed when the water evaporates and leaves behind deposits of calcium carbonate. In such scenarios, the limescale is found wherever there is water- with the commonly affected areas being the kitchen and bathroom.
Looking to save space around your sink and in the bathroom cabinets? Then you should consider getting disposable wipes. Adding these to your bathroom cleaning products’ kit will enable you to sanitise the surfaces effectively, and cut down the amount of time spent carrying out the task.
The sink also needs attention. In fact, it will be one of the first places that will show build ups of gunk and grime. Hair strands, toothpaste residue- it should all be got rid of. What’s more, the moisture conditions at the sink also make it an ideal spot for germs to flourish. Spray a disinfecting solution all around the sink, and wipe it down with a clean cloth. Remember to allow the disinfectant to remain on the surface for the required duration indicated on the product label for it to kill the germs.
Decluttering your bathroom
Textiles- like towels, bathrobes and other similar clothing will take up a lot of bathroom space- and absorb moisture as well. Store them away in their respective closets after they are clean and dry.
Do you find yourself putting everything on the counter? From makeup, the nail polish being used and left behind to “get to later”- these end up making the bathroom appear messy. Put them back into their appropriate cabinets after you’re done using them.
When it comes to the bathroom cabinets and drawers, don’t be a hoarder. Get rid of the empty bottles and other items that you do not use. It’s also advised that you keep the reading material out of the bathroom, instead of by the commode. Paper products will hold onto moisture, which will cause you more troubles in the long run.
Remember to clean behind the toilet
How often do you give this region a proper scrub? Urine and faecal results tend to build up back there, and when neglected it becomes an icky muck that is hard to clean.
Speaking of toilet cleaning, how do you go about it? While it can be an unappealing chore, it doesn’t mean that it should get complicated. It all comes down to the method that you use, that will get the task done without spreading pathogens all over the surrounding surfaces, and also save your time and energy. First off, you need the right cleaning products before you get started- From the rubber gloves, toilet brush, protection gear- especially for those cases where you’ll need to reach for powerful cleaners, and the formulations themselves.
- Start by cleaning everything that’s around the toilet. After all, there is always the risk that the cleaning agent may splash out of the toilet as you go about the task, and you don’t want to find yourself with an extra clean-up job. Also remove any item that is on the tank, that way it will not drop into the bowl when you’re cleaning.
- Give the toilet an initial flush- with the lid down to prevent spraying or splashing. Add your preferred choice of cleaner into the bowl, depending on its state. There is a wide range of toilet cleaning products that you can buy locally from Cleanfast, from powder and liquid units, to gel cleaners. When applying the cleanser, get as close as you can to the toilet rim, in order to prevent it from getting diluted. Give it time to soak into the grime that is in the bowl.
- In the meantime, turn your attention to the outside of the toilet. It’s always recommended that you start at the top, that way there won’t be dripping on the surfaces that will already be worked on. Spray the cleaning agent on the tank, handles and the edges of the tank, then wipe it down. Do the same to the outside lid of the toilet, then wipe down the rest of the outside part of the bowl.
- The toilet seat is next on your itinerary. This is the part that people actually come into contact with, hence it needs to be thoroughly cleaned. Spray and wipe the sit, plus adjacent sections like the inside of the lid and the rim. Don’t leave out the hinges at the back of the seat. After you’re done, moisten a clean cloth with water, then give the entire seat another wipe. This is to remove any residue chemicals that are on the sitting surface.
- By this time- or a couple of more minutes depending on the instructions that came on its product label- the cleaner that had been applied in the toilet bowl will have chemically broken down the grime. All that is needed now is a good scrub to dislodge it. The bowl itself, the section under the rim, and even the drain hole all need to be scrubbed. Put the lid down and flush the toilet.
The choice of cleaning products used will largely depend on the state of the toilet. There are situations that call for more cleaning power, especially when you’re dealing with mounds of scale and grease deposits on the surface that have even altered its colour.
Keeping Your Bathroom Sparkling
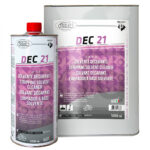
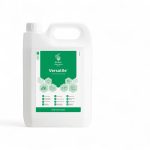
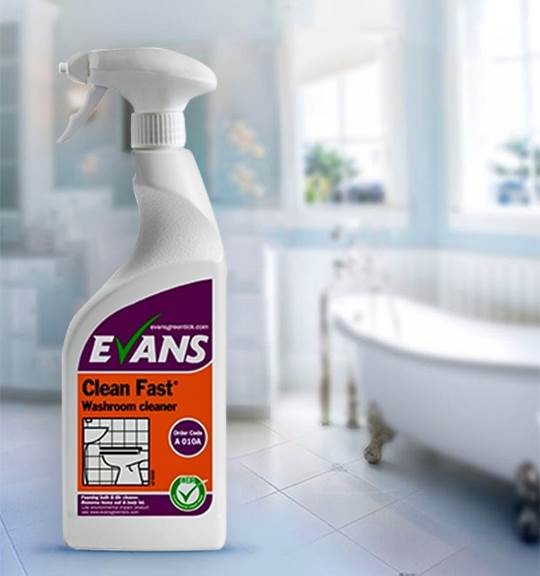
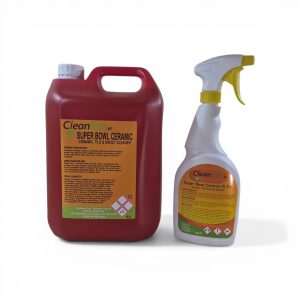
Recommended products
Discover more alternatives and similar items.

_2nd-300x300.jpeg)
0 Comments
Questions or feedback? Join the discussion below.
No comments yet. Be the first to comment.
Replying to